Registration
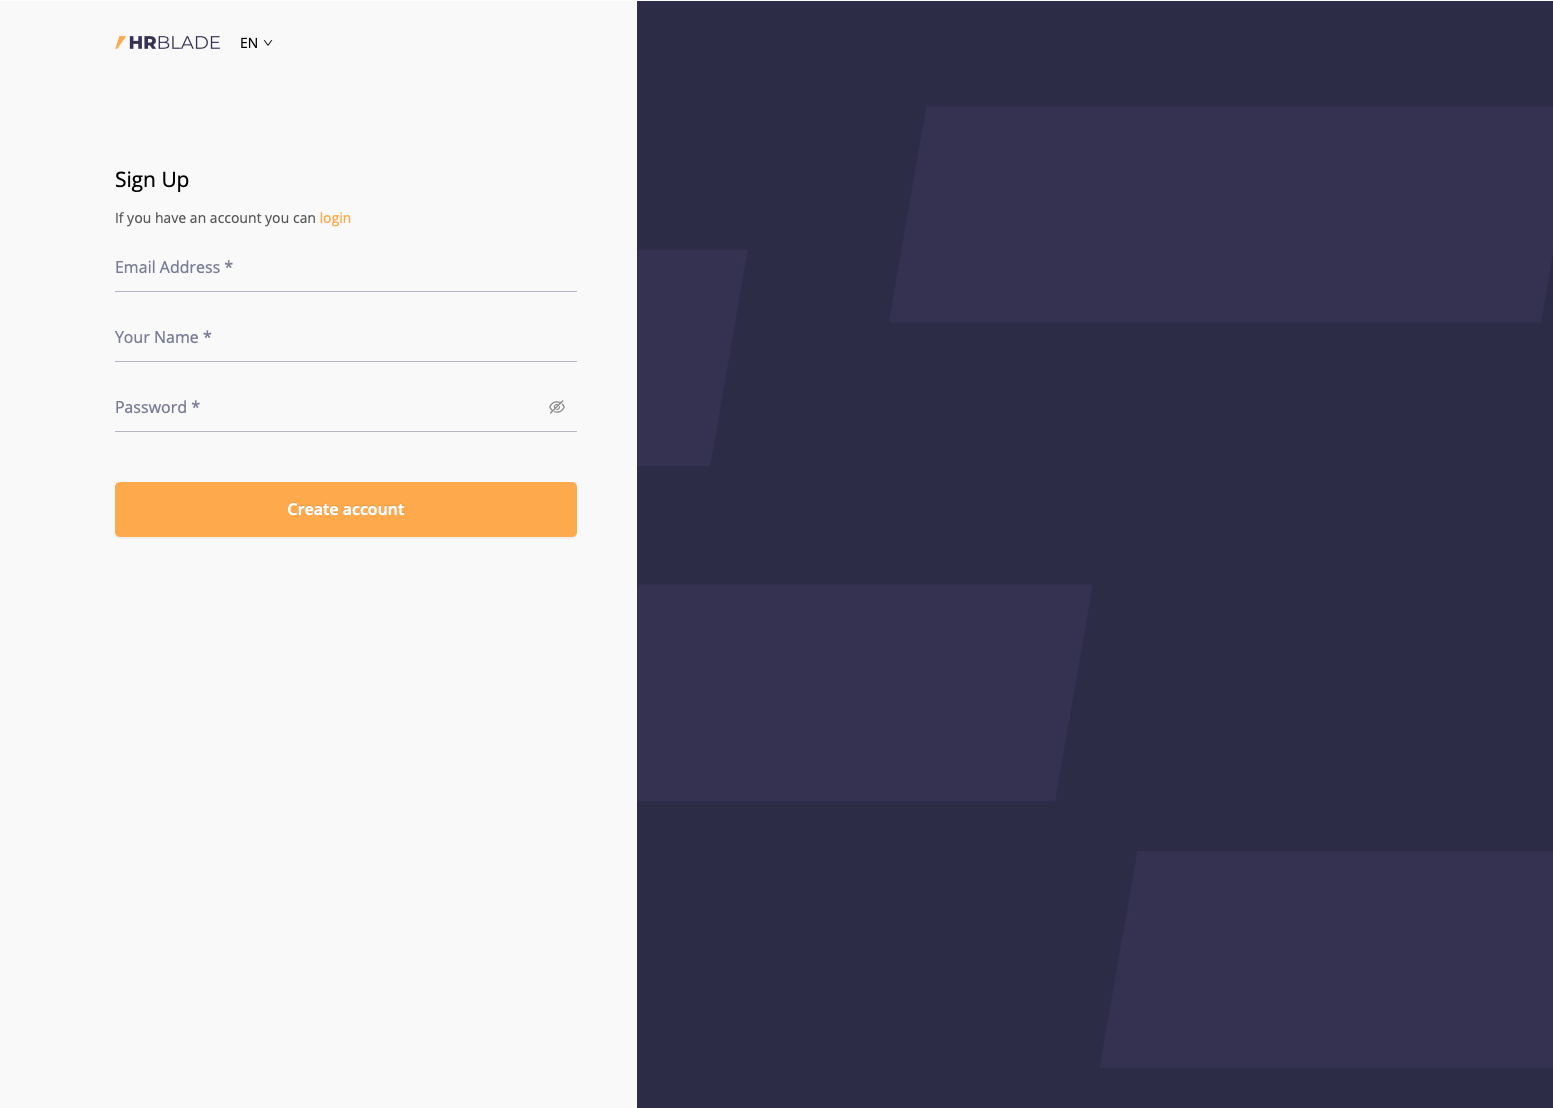
To get started, you need to register in the system, it's free and fast.
Requires only e-mail, username and password.
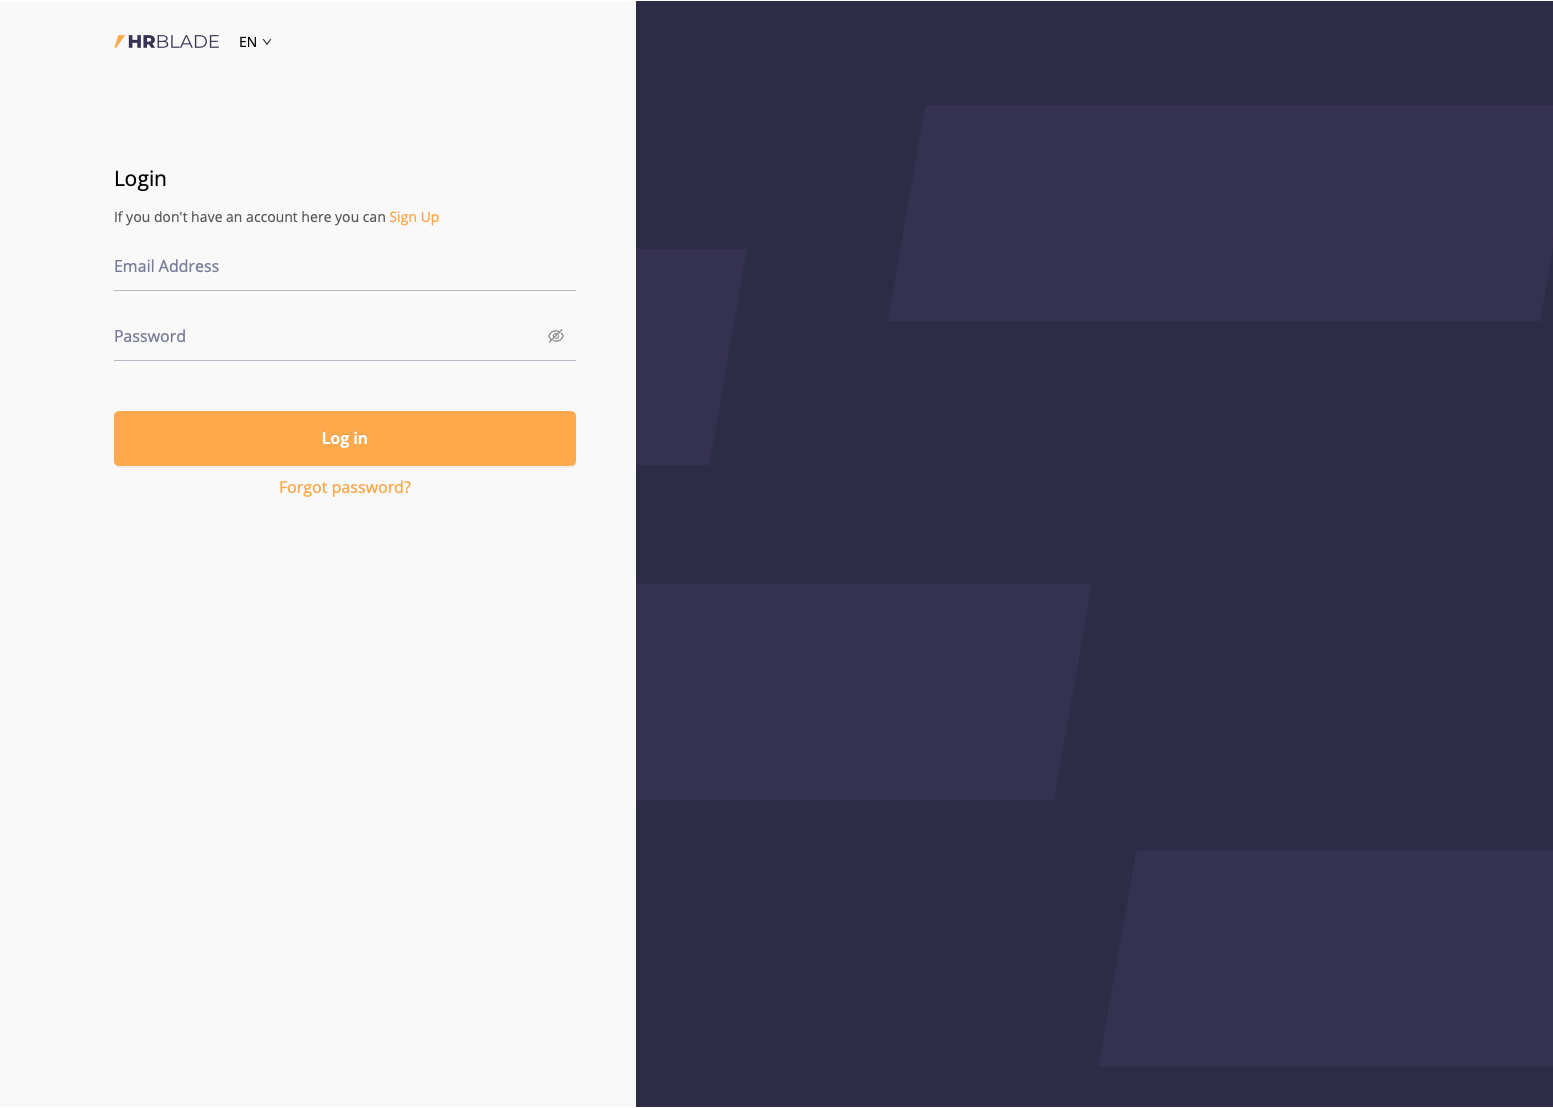
Login
If you are already registered, go to the login page
Creating a company / team / project profile
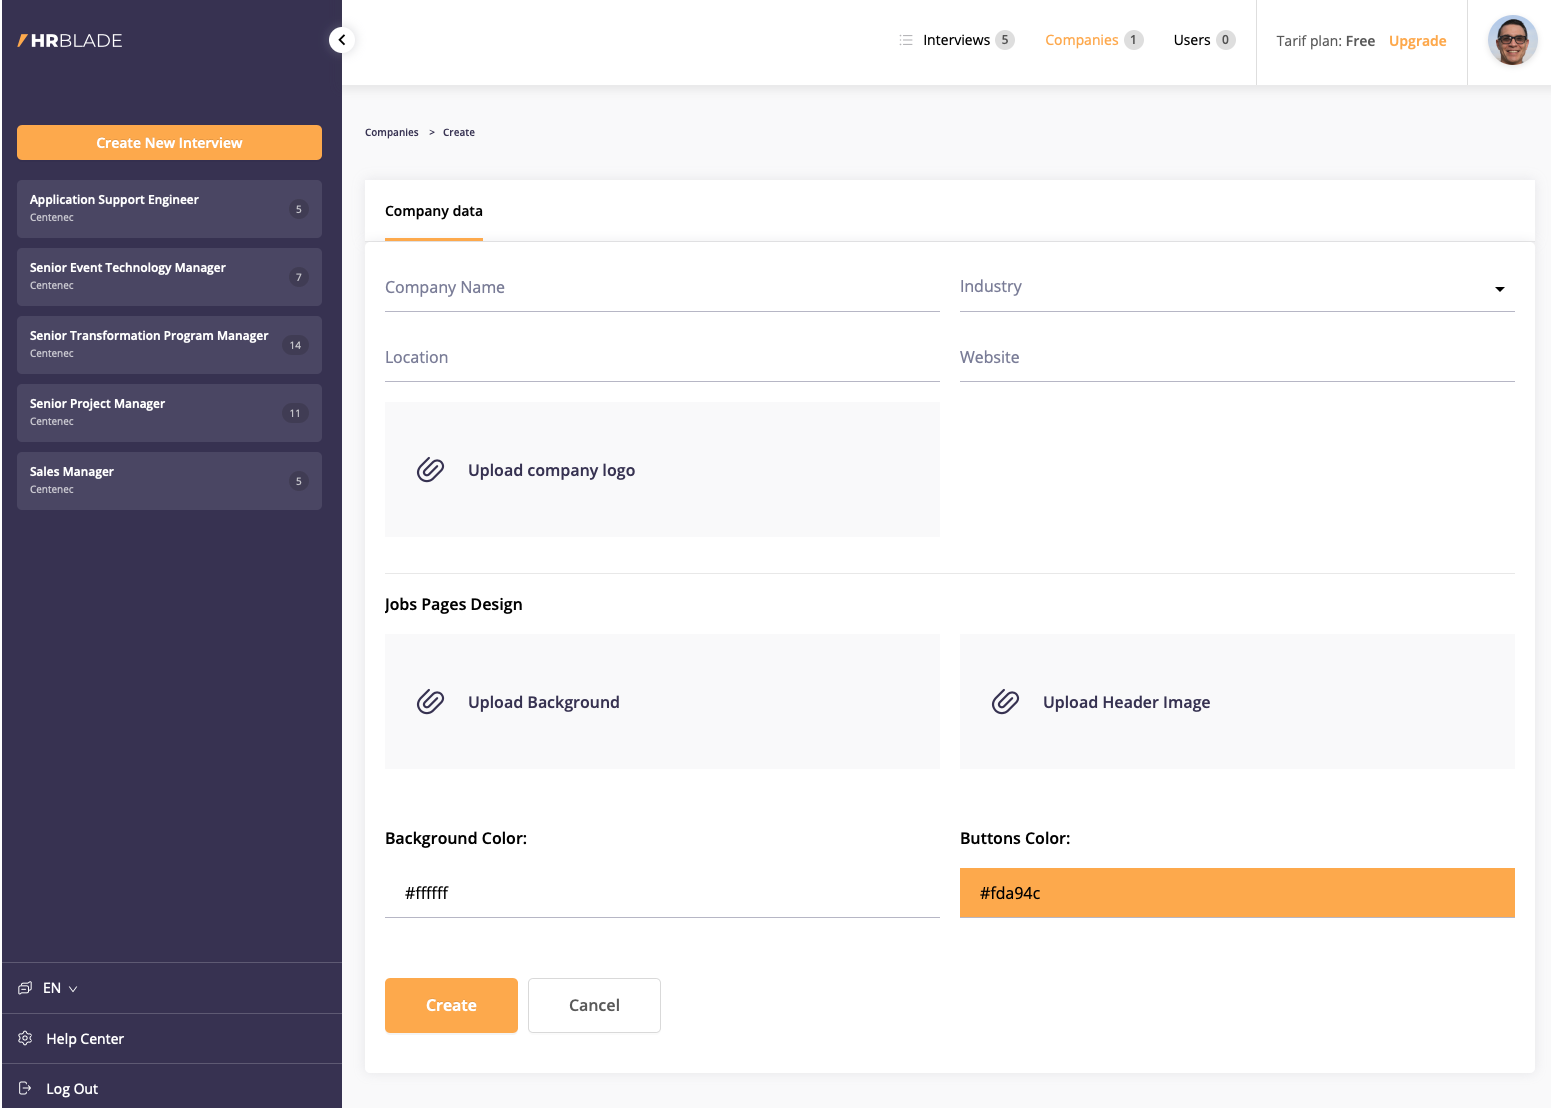
After registration, you need to fill out a profile on whose behalf you will post interviews / vacancies (this can be the name of the company, the project in which you work or the name of the team).
When you first log in, you will be prompted to fill in this information right away, but if you skipped this step, you can create a profile on this page .
In the profile, you can customize the design of future job / interview pages, you can upload a logo, customize the background, as well as the image. In the future, you will be able to create many companies / projects in accordance with the settings of your tariff plan.
Create interviews / vacancies
After creating a company, you can create vacancies / interviews. You can create interviews at creating interviews
An interview is created in 3 easy steps:
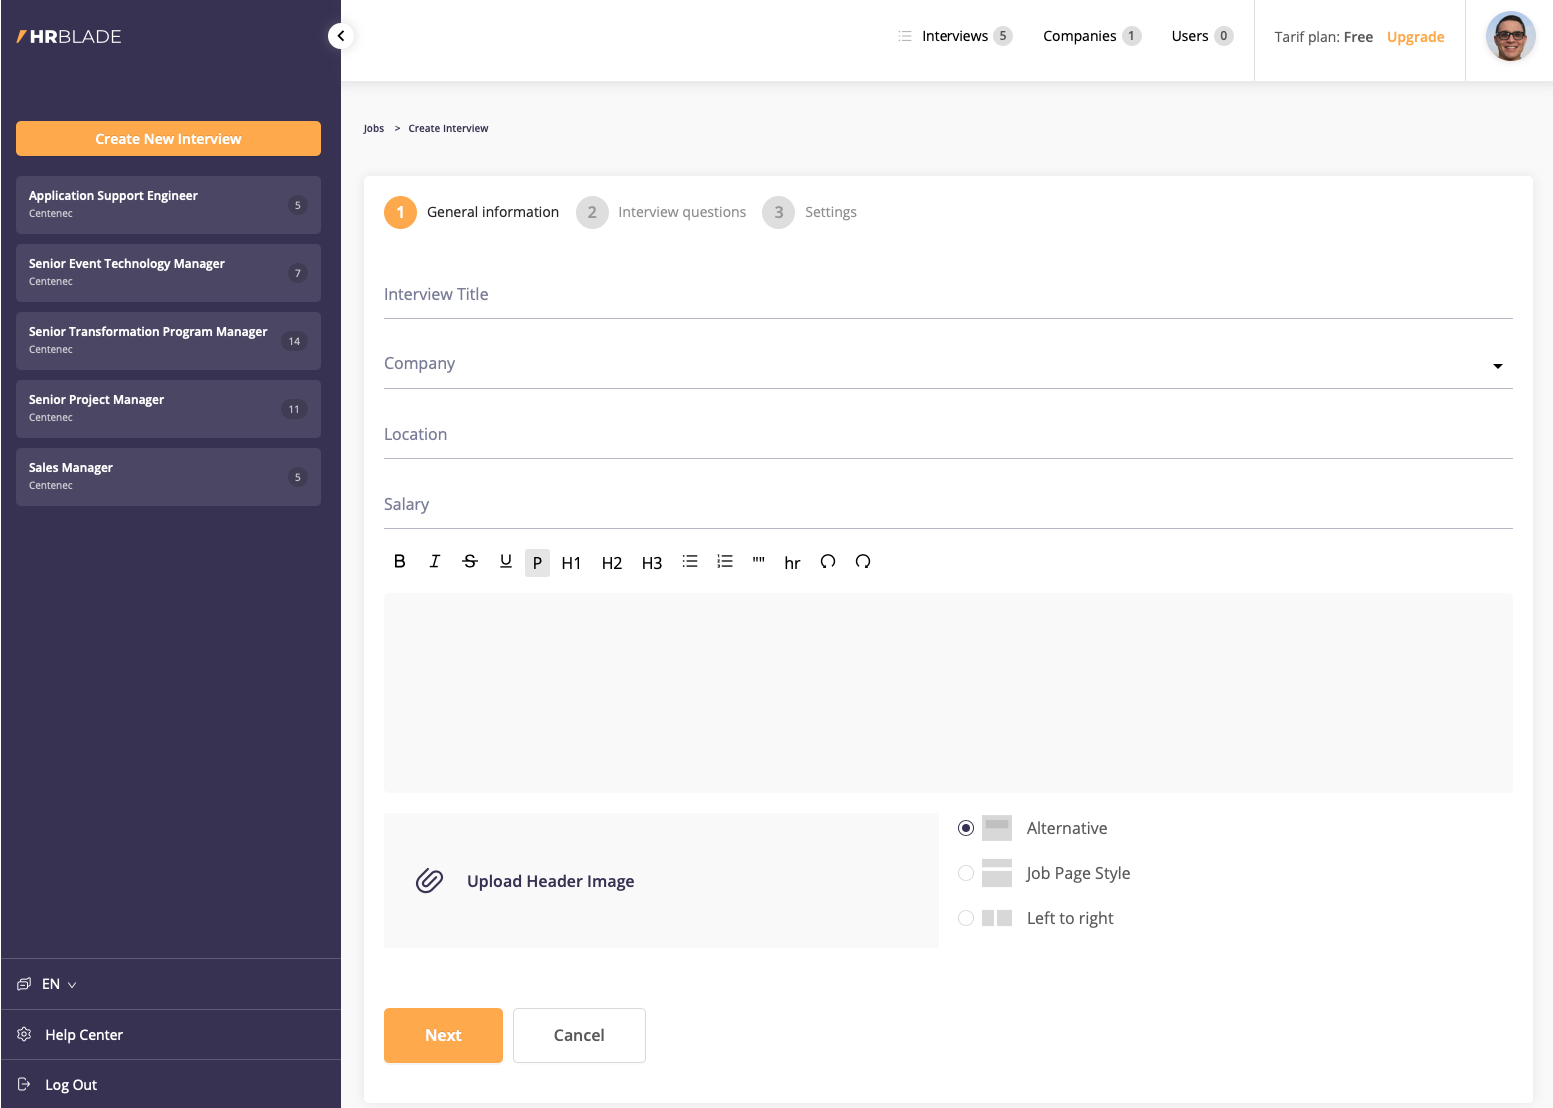
Step 1 - general information about the vacancy (or interview)
Enter the name of the vacancy, select the profile of the company from which you will post it, specify the location (it can be arbitrary, including online), salary and a detailed description.
You can also add an image to the vacancy page (if you don't add it, it will be the one in the company profile settings). You can also choose a page style.
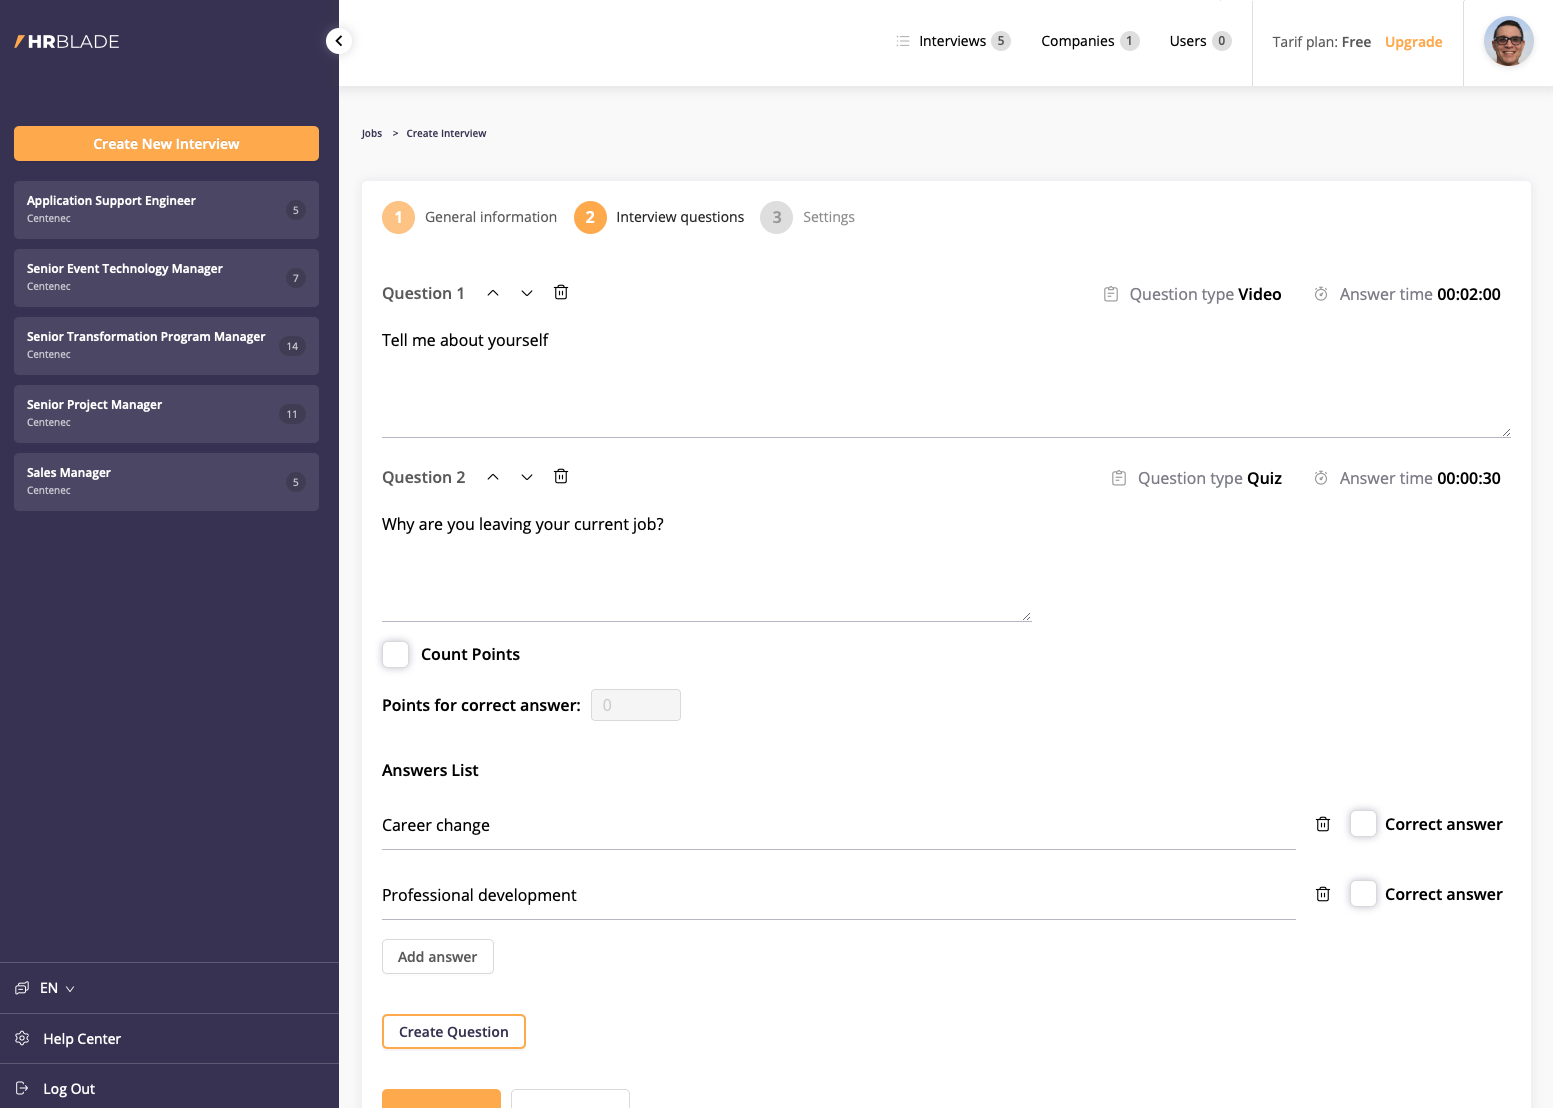
Step 2 - list of questions
Write a list of questions for your job or interview. You can choose one of the following types:
- Video response (the candidate will record a video in response)
- Text response (response will be in plain text)
- Quiz (choice of answer options), in this option you can assign points for correct answers
- Code editor (text version for code with syntax highlighting)
Step 3 - settings
Specify the date until which the vacancy will be active. Choose the ideal candidate profile, add the competencies by which you will evaluate him, you can choose one of the standard templates, and also create your own profile. For example, knowledge of foreign languages, stress resistance, ability to work in a team and other factors that are important to you for the assessment. The system will compare candidates according to the corresponding grades for a given profile.

Interview Invitation
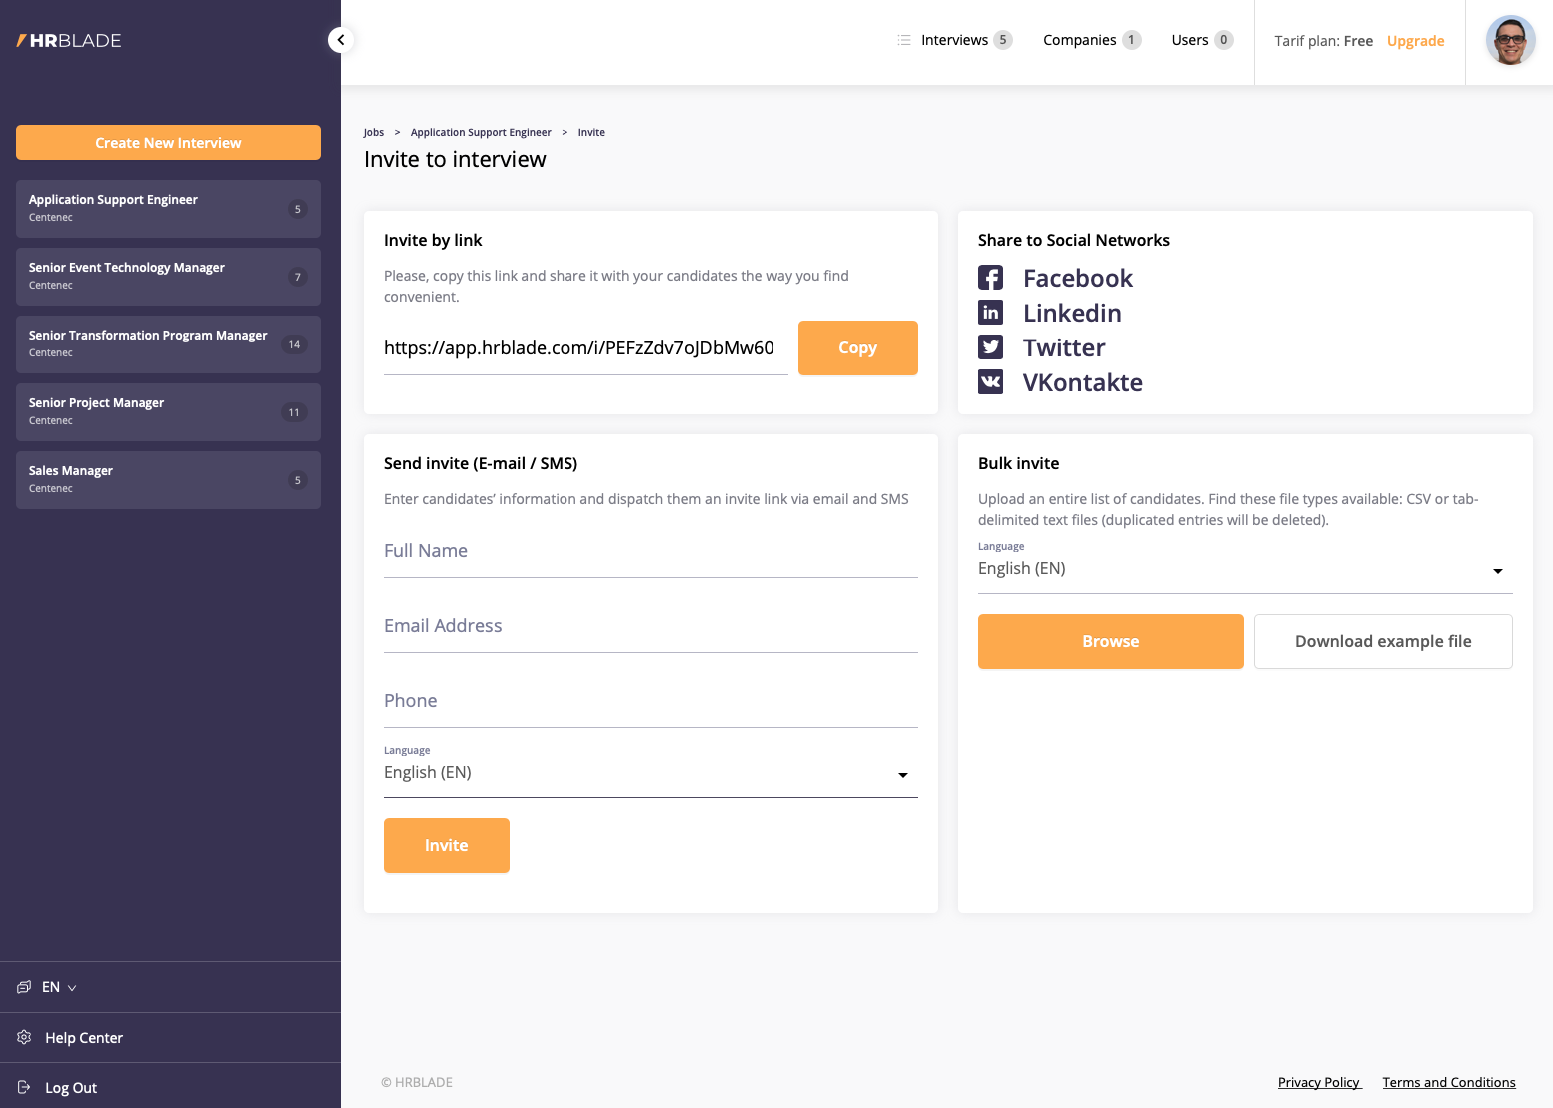
After you have created a vacancy, you can invite applicants to go through an online interview, you can do this immediately after creating a vacancy or on the vacancy page by clicking the [Invite] button.
There are 4 options to invite for an interview:
- Copy the link and distribute it in any convenient way, for example, on the vacancy page in hh.ru or by sending it by mail
- Share this job on social networks
- Invite a candidate by email or SMS
- Invite candidates in bulk - upload a CSV file according to the example posted in the Send invitations by list block.
Viewing candidates' responses
After candidates are interviewed, cards with their answers appear on the vacancy page. You can filter and sort them by different parameters.
By clicking on the card, a video interview of a specific candidate will open.

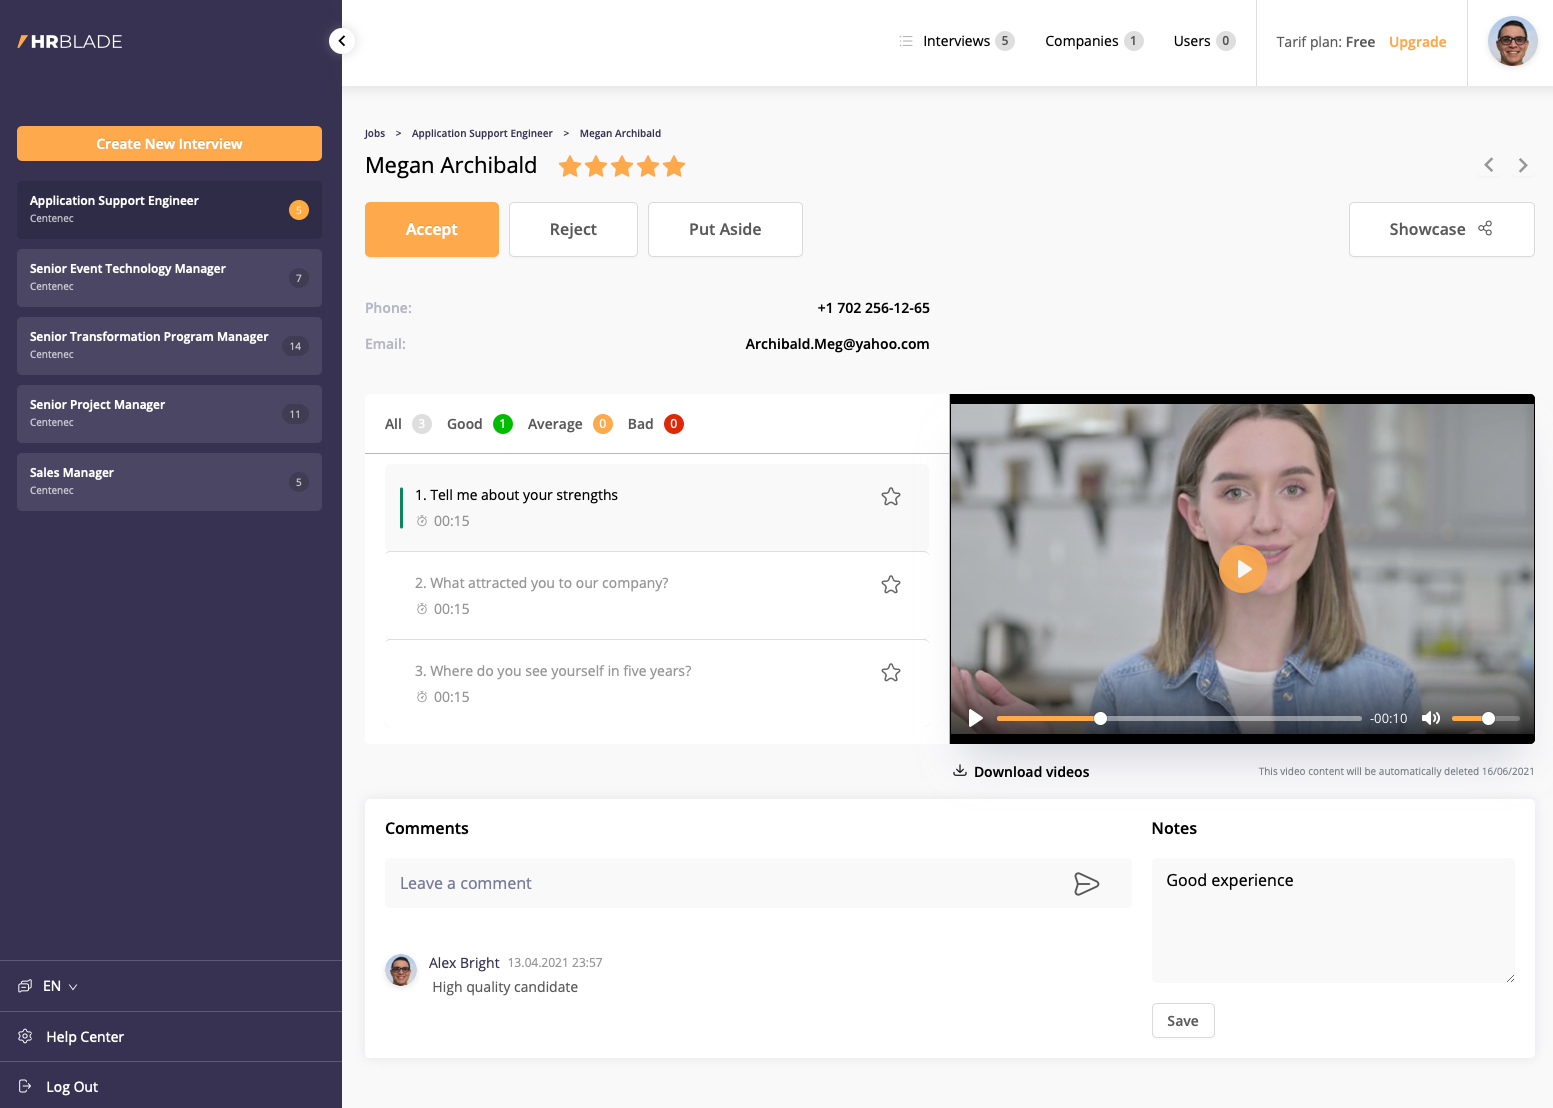
Viewing the candidate and his answer
By clicking on the card with the candidate's answer, a window with answers to the questions opens, you can evaluate each answer separately, or rate the candidate. There is a field for comments on the candidate's card.
After making a decision, you can change the status of the candidate, accept, reject or think.
The card contains a link to this interview [Video interview]. You can copy it and share it with colleagues who do not use HRBLADE.
Share candidate's video response with colleagues
As it was written above, you can share video responses of candidates with colleagues by copying the link from the candidate card. But for more functionality and the ability of colleagues to evaluate candidates, there is a function for adding users to the system.
Users
You can add your colleagues or HR managers to your company account in the section Users by clicking on the [Invite ].
You can assign company and access / action rights for each user separately. An e-mail will be sent to the invited user with a link, after clicking on which he will be offered to register in the system, after his successful registration he will be attached to your company with the appropriate rights.

Live interview rooms
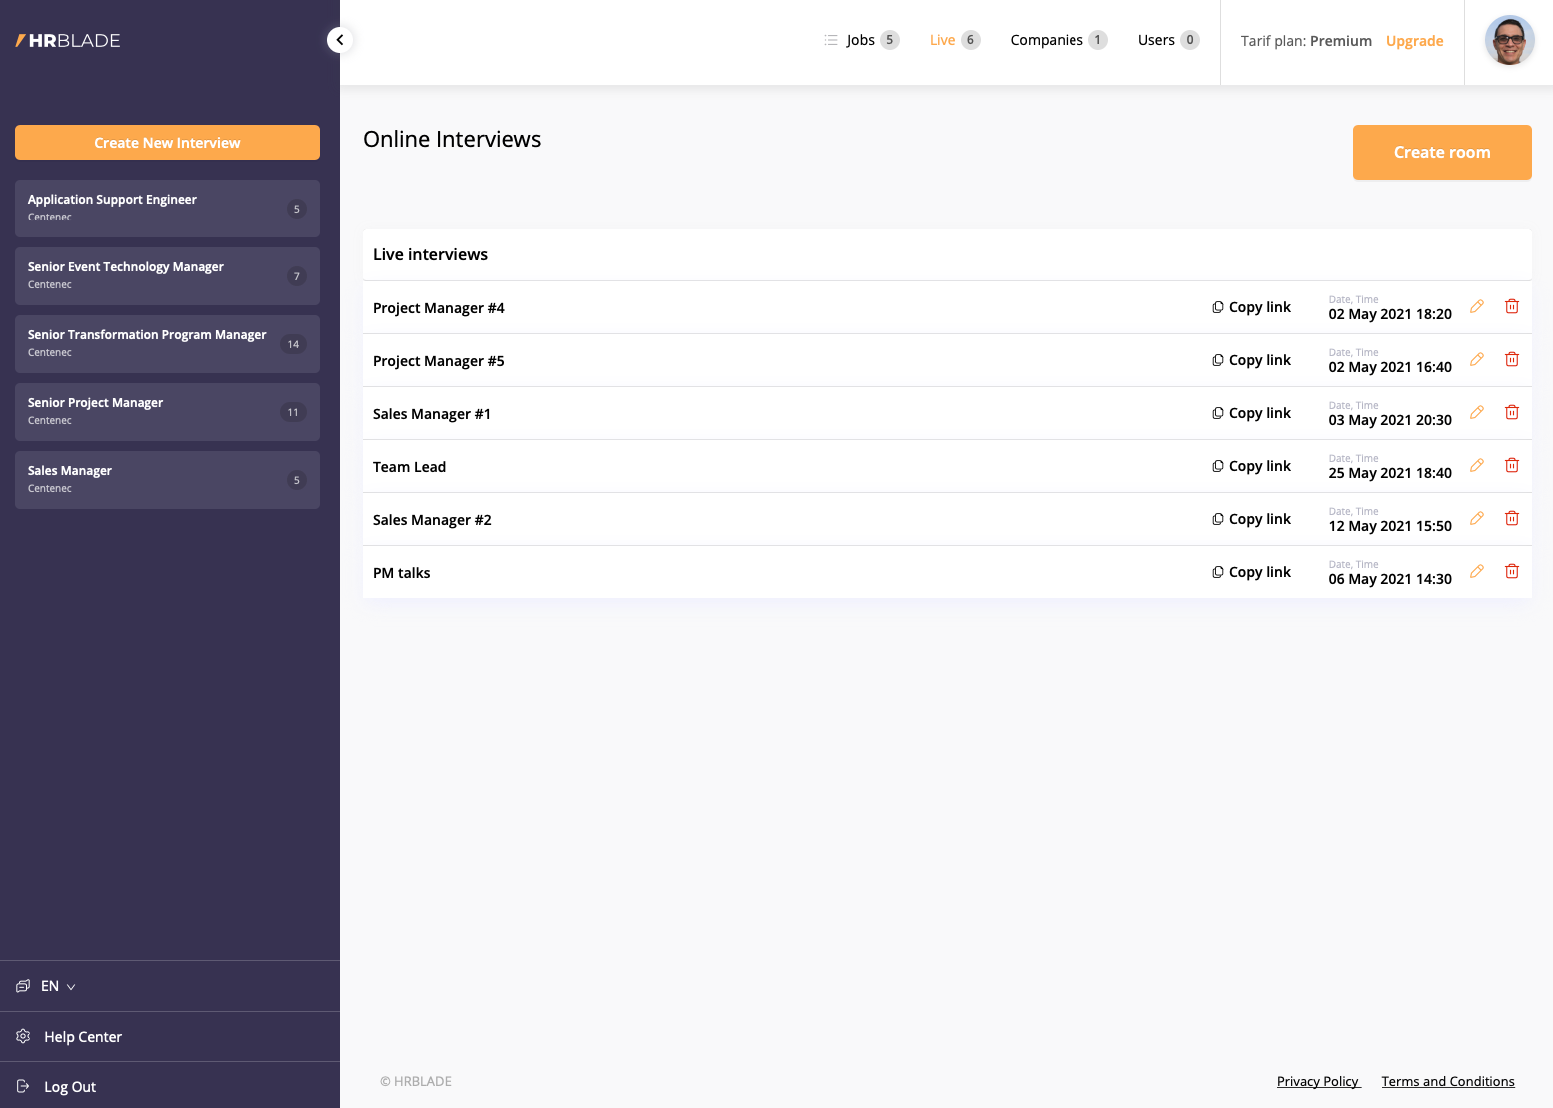
In the Live section you can add rooms for video interviews by clicking the [Create room] button. Specify the name of the room, select the company, platform (for communication in our system, select HRBLADE Live), date and time. If you want to communicate via skype / zoom, then select the appropriate item in the menu.

Live Interview Invitation
Copy the link and send it in any way to the candidate and colleagues, at the appointed time in this room you can chat via video communication with candidates and colleagues.
Job List / Interviews
Click on Jobs to view and manage all vacancies in your companies. Active vacancies are also displayed in the left pane.

Profile settings
You can change your personal information and password in your profile settings by clicking on the avatar at the top right of the screen.

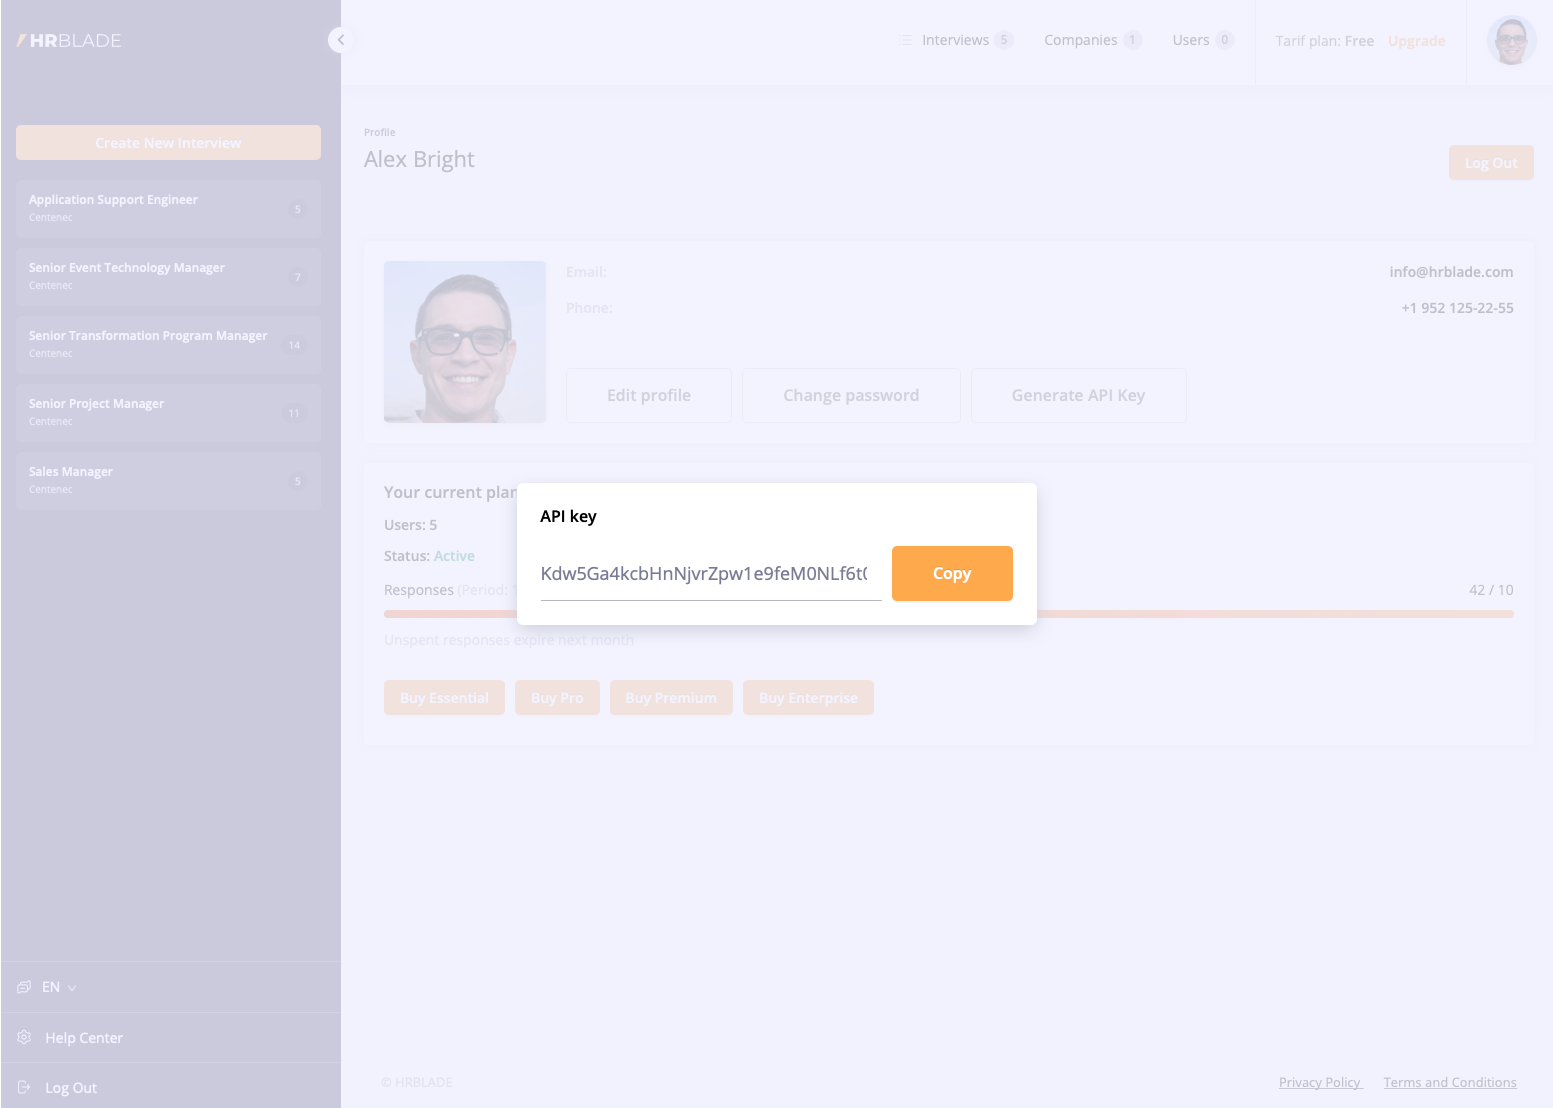
Generating an API key for integrations
In the profile, you can generate a new API key, but be careful, by clicking on the create API key button, a new key is generated, the old one will be inactive after that, so after generation, be sure to copy the key and save it.
Buying a tariff plan / changing a plan
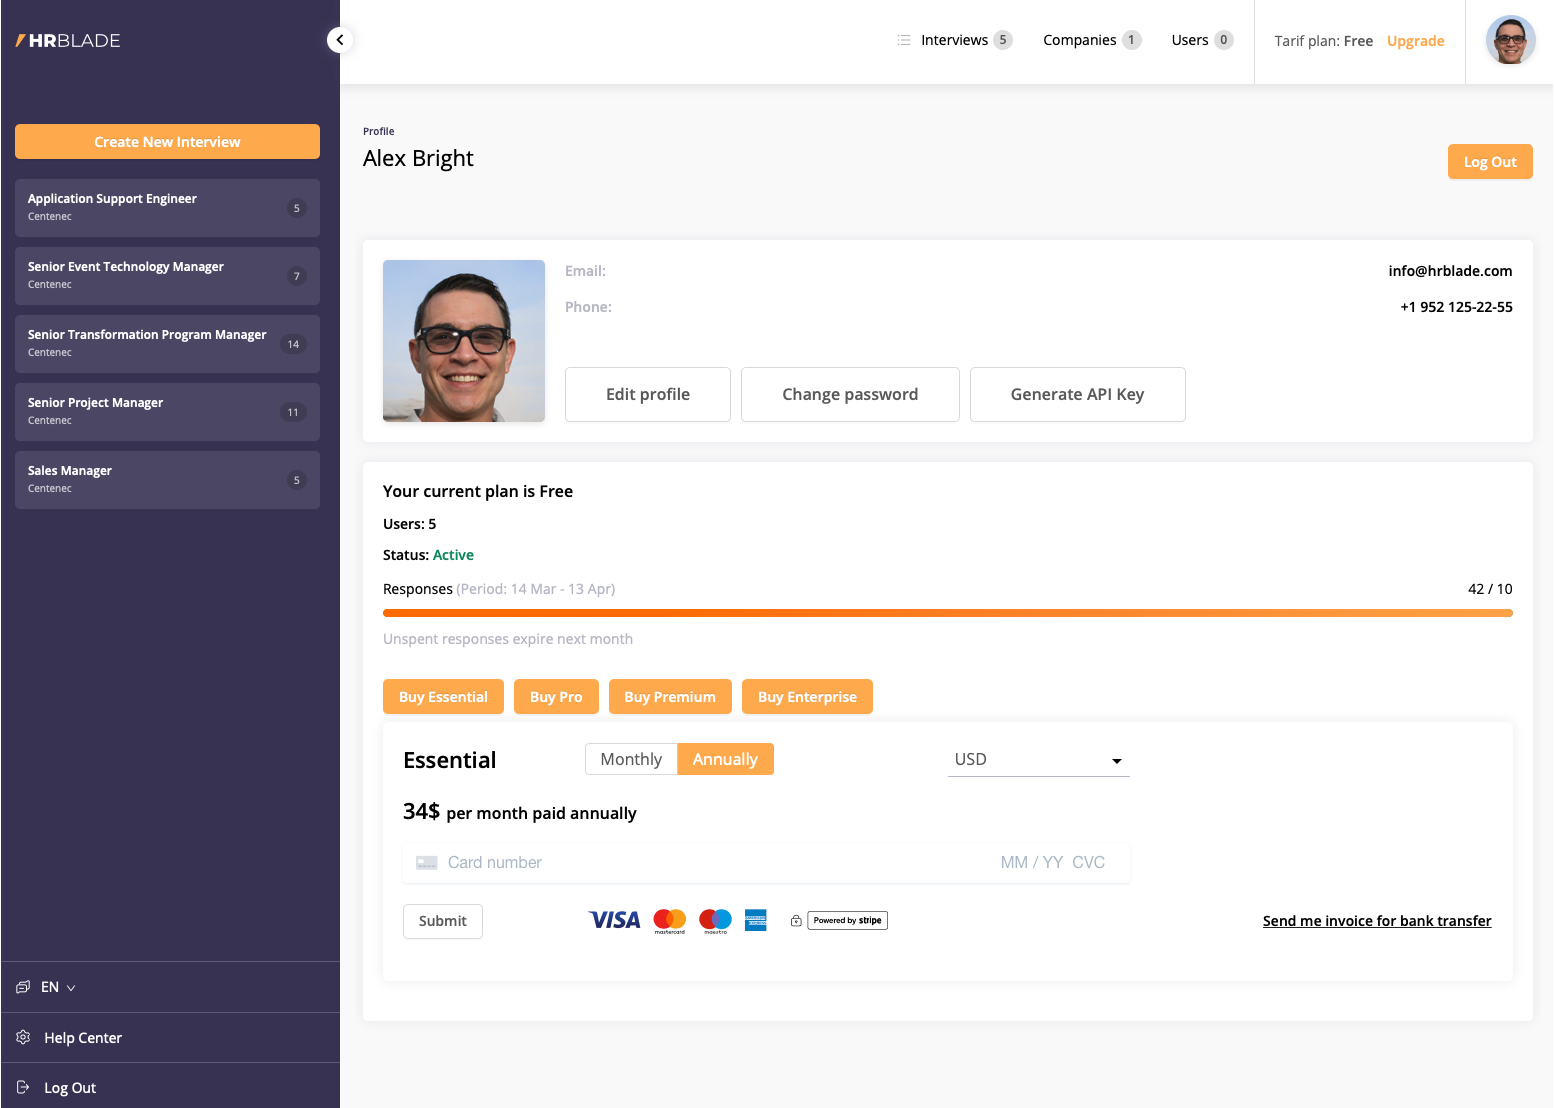
You can buy a tariff plan or change it in your profile by selecting the appropriate tariff, then select the payment currency that suits you (it can only be changed by canceling the subscription), then select the payment period that suits you and enter your bank card details. Secure payments are made using the Stripe service. If you need to pay by bank transfer, request an invoice by clicking on the appropriate link "Send me an invoice" and indicate the details and currency of payment.
Next: Online Interview Process
